“Hey, witch doctor, give us the magic words!”
(The Cartoons)
One of my servers has an SSL certificate from GoDaddy. More specifically, this is a Unified Communications Certificate (UCC), so it can have up to 5 domain names. I originally registered 3 names, and I recently needed to add a 4th. The good news is that GoDaddy let you specify extra names through their web interface and download the new certificate without charging any extra money. The bad news is that they don’t provide any documentation on installing the new certificate.
Also, as soon as they issue the new one, they revoke the old one. I hoped that there would be some grace period, allowing you time to install the replacement, but it seems that they follow the Inspector Gadget approach: “this certificate will self-destruct in 30 seconds”. (More specifically, they don’t say how long you’ve got, and my website got blocked for a while until I sorted out the new certificate.) So, here’s what I did to get it working. (My server is running Windows 2003, but these instructions should be useful on other platforms too.)
If you look at the GoDaddy documentation, you’ll notice a common theme.
IIS5: “Select Process the pending request and install the certificate.”
IIS6: “Select Process the pending request and install the certificate.”
IIS7: “From the Actions menu, select Complete Certificate Request…”
In other words, it’s normally a two-step process: you start by doing something on your computer (which generates a private key), you submit a request to them, then you download the crt file which contains the public key. You then complete the process on your computer, which joins the private and public keys together, making the certificate fully operational.
I went through that process several months ago, when I first bought the certificate. When I added a new Subject Alternative Name (SAN), that was all done on their server, so there was nothing to “finish off” at my end. I used the “Certificates” snap-in in MMC, so I could view the existing certificate, but there was no “import new public key” option. If I imported the new crt file on its own (i.e. as a new certificate), that worked fine, but then I only had the public key, so I wouldn’t actually be able to use that certificate for anything.
I assumed that the existing private key would work with the new public key, so I needed to split the existing certificate in half, then merge the private key with the new file to create a new certificate. I guessed that this would involve a command line utility (e.g. certutil.exe), but I wasn’t sure of the “magic words” to make it work. So, I emailed GoDaddy tech support for advice. Here’s their reply:
Thank you for contacting online support. We have no access to the private key. This is stored on the server used to generate the CSR. When you add or remove Subject Alternative Names on the certificate, a new certificate is issued to you for the new details of the certificate. You will need to install this certificate onto your server. Please note, we cannot provide installation instructions beyond the instructions below. If you require further assistance, you will need to contact your hosting provider or server admin.
The “instructions below” were links to their standard articles, e.g. the IIS ones that I mentioned above. They all applied to the situation where you purchase a new certificate, so they weren’t relevant to my problem. The hosting provider is me, and the server admin is also me, so I had to figure this out for myself.
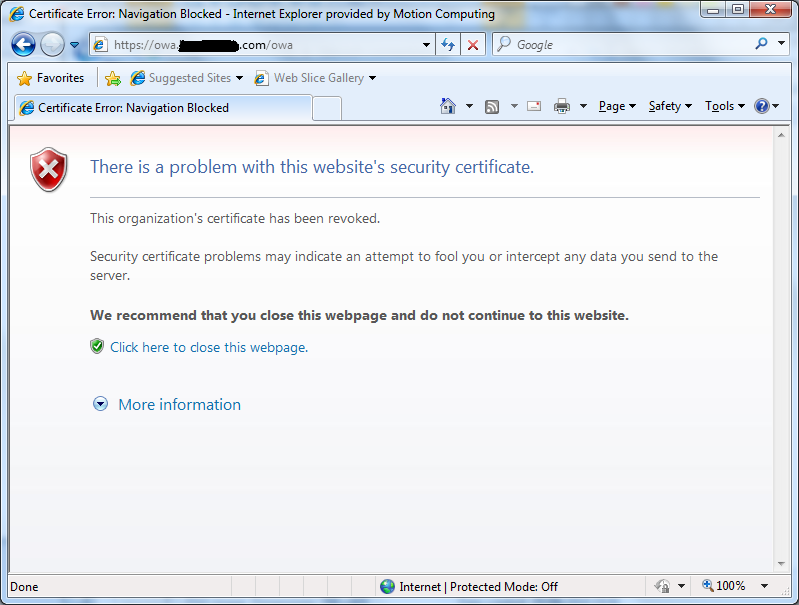
Meanwhile, people ran into trouble when they tried to use the website. Normally if you get a problem with a certificate in Internet Explorer (e.g. it’s expired or the name doesn’t match the server) then there’s a big warning but also a “Continue anyway” option. In this case, it was simply blocked.
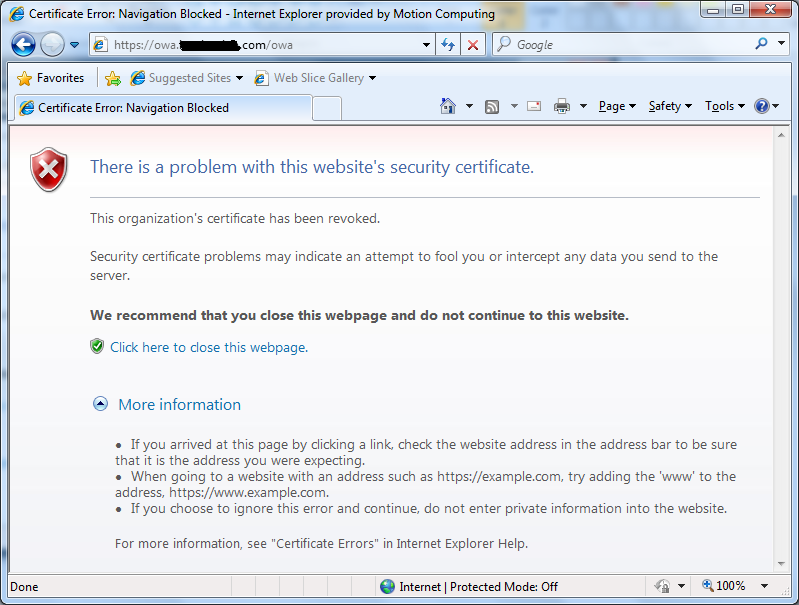
Clicking “More information” wasn’t particularly informative:
I didn’t test this in any other browsers, so I don’t know how they handle this situation. I can understand why revoked certificates are treated more seriously, although I’d argue that there was no reason to revoke the old certificate in this case. As a side note, this didn’t affect everyone at the same time: one person got the error page at 23:45 last night, while someone else was fine at 09:00 this morning but then they saw the error at 10:30. I’m guessing that this is because the browser downloads the latest list of revoked certificates periodically (like refreshing DNS entries) rather than using the Online Certificate Status Protocol (OCSP). When I tested this on a Windows XP machine, it showed me the website without any errors, but the padlock was missing from the address bar; on Windows 7 I saw the error. I know that one of the people who saw the error was using Windows Vista, but I’m not sure about the other person, so it may be that Vista/7 are a bit more diligent than XP about checking certificates, or it could just be the random time issue. (All the machines were running IE8.)
There is a workaround in IE, although it’s not ideal. Go to Tools | Internet Options, then the Advanced tab, scroll down to the Security section, and uncheck the “Check for server certificate revocation” box. The obvious downside is that you won’t be warned about revoked certificates anywhere else.
Anyway, I needed to get the new certificate sorted out as soon as possible. On my desktop PC (Windows 7), I installed OpenSSL. Unfortunately, that website only offers source code; I acknowledge the benefits of open source software (so that you can inspect the source code yourself if you want to), but in this case I didn’t really want to get sidetracked into compiling it myself. Also, the compression method they’ve used (tar/gz) means that I’d need to install extra software to extract the source code before I could get to the compiling stage. Fortunately, Shining Light provide a compiled version for Windows, so I used that.
(As a side note, I’m reliably informed that Mac OS X comes with OpenSSL pre-installed; it’s then updated as part of the core system through the Mac update manager. Similarly, if you want to install OpenSSL on Ubuntu then you need to run this command:
sudo apt-get install openssl
So, it’s a bit easier on those platforms than it is on Windows.)
Whenever I purchase a new certificate, I always export a backup copy: that way, if I need to replace the server then I don’t have to buy a new certificate. More specifically, I export it in “Personal Information Exchange – PKCS #12 (.PFX)” format. So, the key command within openssl is pkcs12 (to match the format). I made copies of the relevant files on my PC:
owa1.pfx (exported copy of public/private key from original certificate, without new SAN name)
owa2.crt (downloaded public key for new certificate, including new SAN name)
Step 1 was to split the pfx file in half, to get at the private key.
C:\OpenSSL-Win32\bin>openssl pkcs12 -in owa1.pfx -out owa.pem -nocerts
This prompted me to enter the import password (previously specified) for the pfx file, and enter a new PEM pass phrase.
NB I called the pem file “owa.pem” (rather than owa1 or owa2) because the same private key is common to both versions of the certificate.
Step 2 was to merge the private key with the new public key to create a new pfx file:
C:\OpenSSL-Win32\bin>openssl pkcs12 -export -out owa2.pfx -inkey owa.pem -in owa2.crt

Loading 'screen' into random state - done

Enter pass phrase for owa.pem:

Enter Export Password:

Verifying - Enter Export Password:

unable to write 'random state'
This created the pfx file successfully, and you may be able to safely ignore the “random state” error, but I preferred to get rid of it. One solution is to use an elevated command prompt (i.e. right-click “Command Prompt” in the Start menu and choose “Run as administrator”), but that gives the program more power than it needs. The neater solution is to define an environment variable.
C:\OpenSSL-Win32\bin>SET RANDFILE=C:\OpenSSL-Win32\bin\jck.rnd

C:\OpenSSL-Win32\bin>openssl pkcs12 -export -out owa2.pfx -inkey owa.pem -in owa2.crt
This completed without any errors, and created a “jck.rnd” file in the same folder.
NB I initially tried this command at step 2:
C:\OpenSSL-Win32\bin>openssl pkcs12 -export -out owa2.pfx -inkey owa.pem -certfile owa2.crt

Loading 'screen' into random state - done

Enter pass phrase for owa.pem:
When I did that, it created a 0 byte file (owa2.pfx) but then just sat there doing nothing until I hit Ctrl-C. So, you have to use -in rather than -certfile to specify the certificate file. (My guess is that when it did nothing it was actually waiting for me to type in the encoded version of the certificate from the text file.)
After this, I copied the new file (owa2.pfx) back to my server, and imported it successfully (using the Certificates snap-in in MMC). I tested it from outside the network, and verified that it worked right away (no propagation delay). I then deleted all the certificate/key files from my PC; I don’t really want extra copies of the private key floating around.
So, easy when you know how!
Leave a Reply