In part 1 of this series, I explained why it’s a good idea to have separate accounts on your computer: a standard account for day to day stuff (e.g. reading email), and an administrator account for making system changes (e.g. installing new software).
In this part, I’m going to provide step by step instructions for setting this up on Windows XP. (The process is pretty similar for other versions of Windows.) There are lots of pictures here, to make it as simple as possible. This all applies to a home computer; it’s a bit different for a workplace, since all the accounts will be set up centrally by your IT department, and by default they will just be standard users on each PC.
When you first install Windows XP, it will ask you for a computer name and an administrator password:
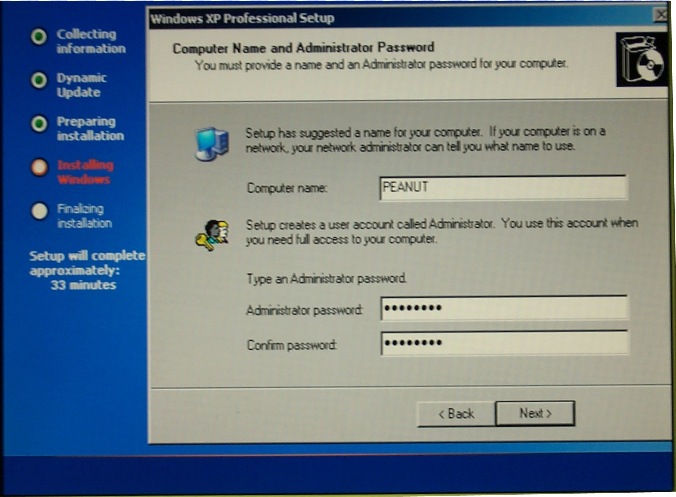
Make sure that you remember this Administrator password! This is for the built-in “Administrator” account, so you won’t normally use it, but you will need it if things go horribly wrong and you need to repair your Windows installation.
A bit later, Windows setup will ask you for your name so that it can create a new account for you:
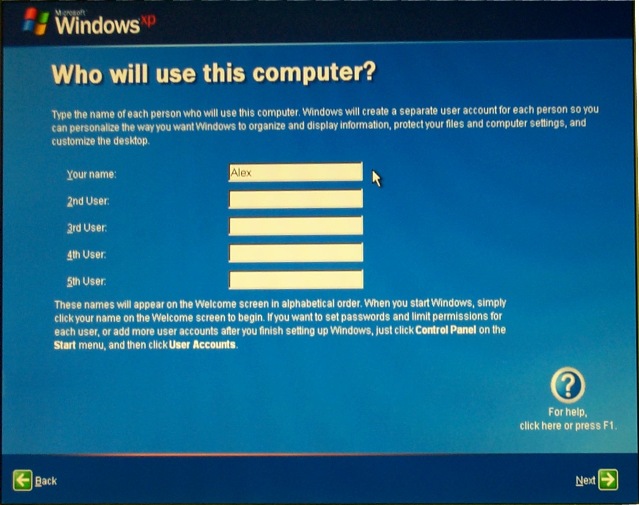
This new account will be a computer administrator, with full control over the machine. It doesn’t have a password, so you can log in just by clicking your name when you turn the computer on:

Realistically, I assume that you’ve already done all this, so I’m just establishing the status quo. There are now two objectives:
1) Create a new admin account.
2) Change your existing account to be a standard user.
It might seem simpler to keep your existing account for admin tasks and then create a new account for everyday use. However, if you do that then you’ll lose all your personal settings, e.g. your “Favorites” menu in Internet Explorer and any desktop shortcuts.
So, go to the Start menu, then click “Control Panel”:
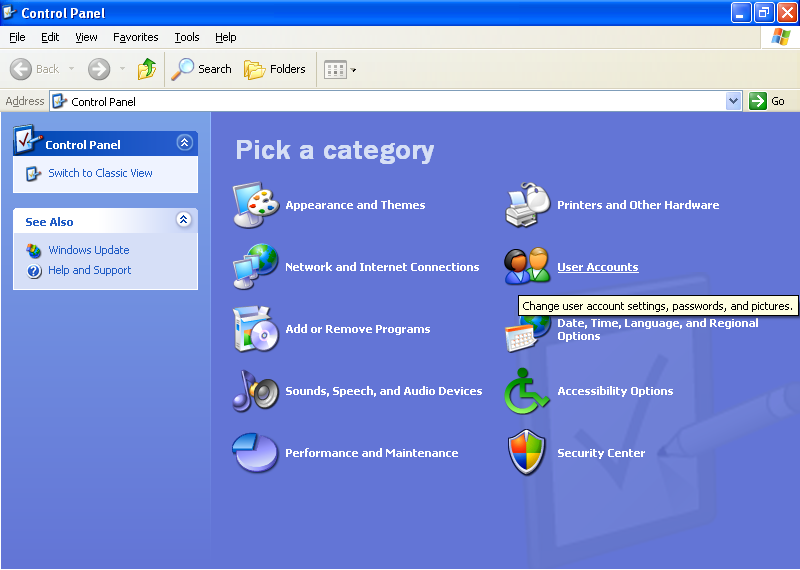
Click “User Accounts”:
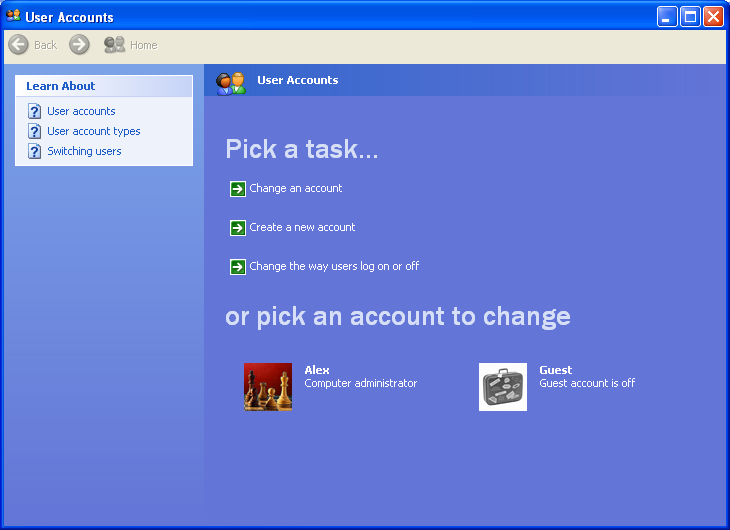
Click “Create a new account”, and give it a suitable name:
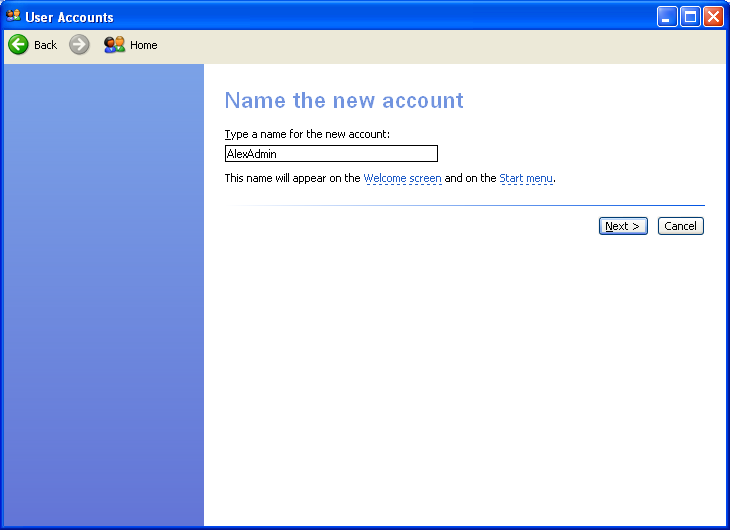
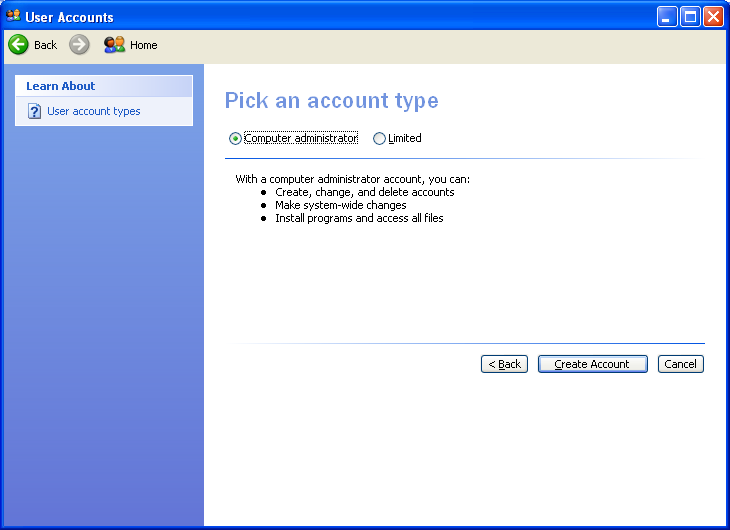
Click “Next”, then select the “Computer administrator” option and click “Create Account”:
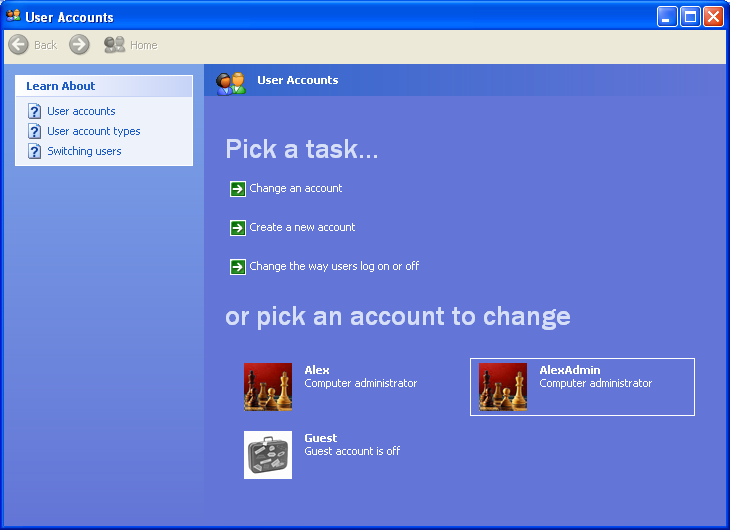
Back on the main “User Accounts” page, you’ll now see the new account:
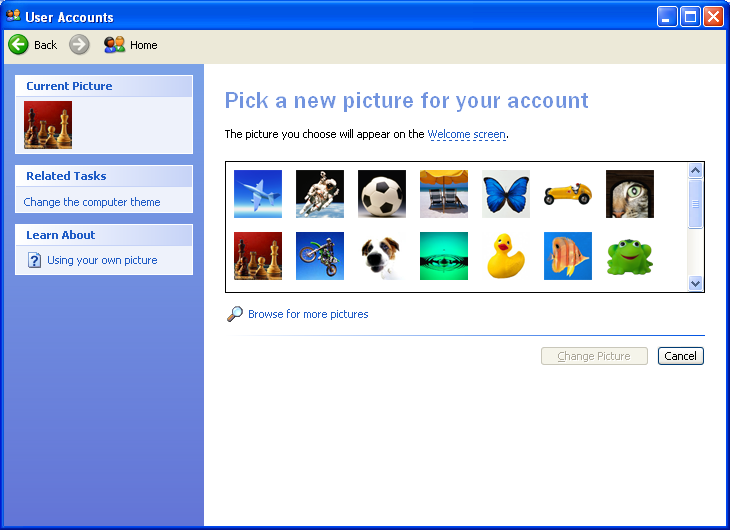
Log out of Windows, then log back in with the new admin account. At this point, it doesn’t have a password, so it would be a good idea to choose one; it may also help to choose a different picture, so that it’s easier to tell the two accounts apart.
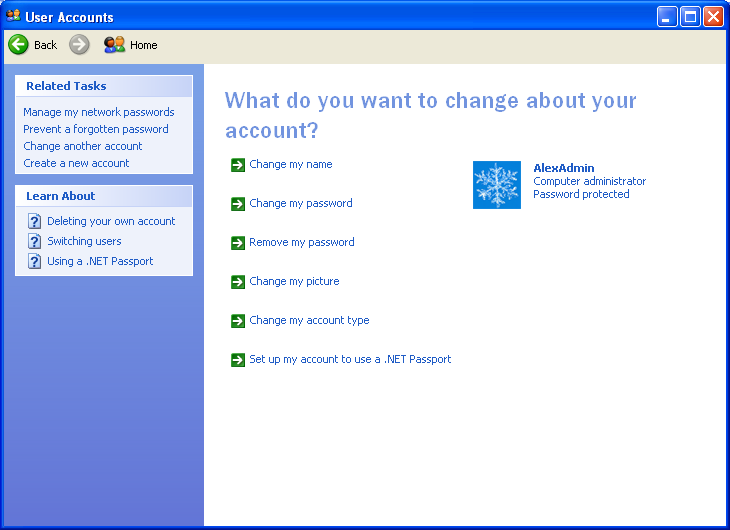
So, go to Control Panel again, then User Accounts, and click the new admin account (in this case “AlexAdmin”) at the bottom of the screen:
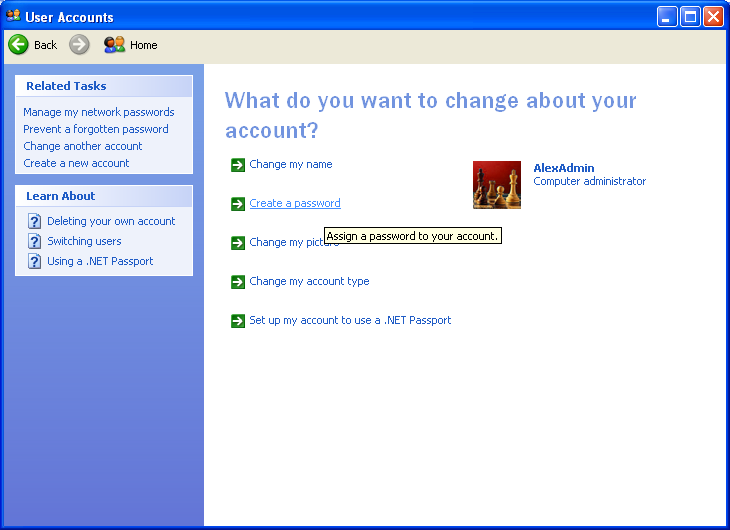
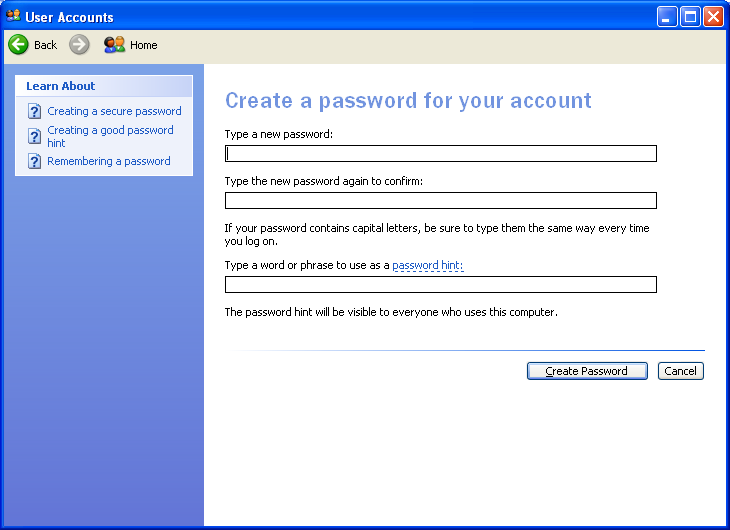
Click “Create a password”:
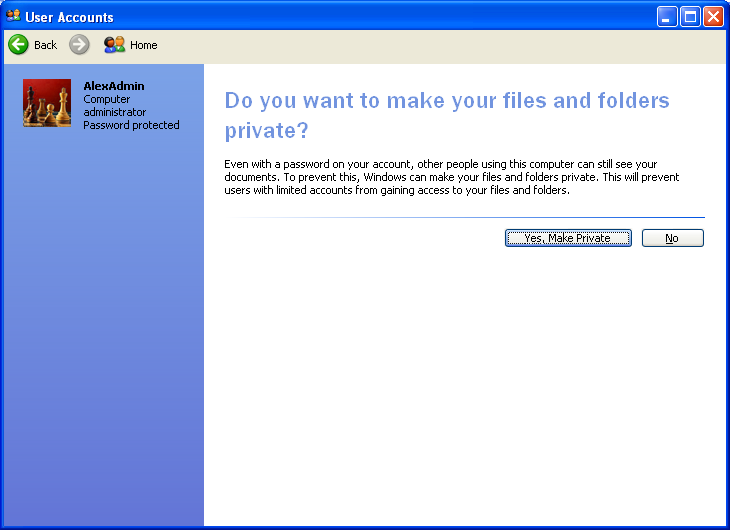
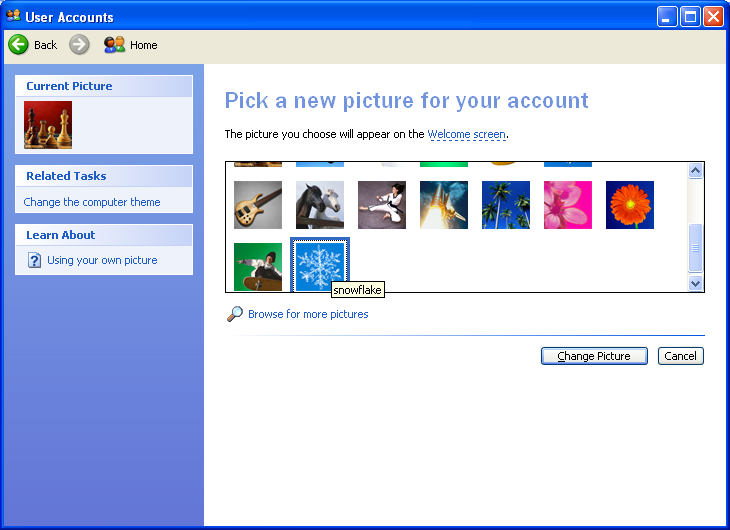
Once you’ve done that, click “Change my picture”:

Now change your original account to be a limited account instead of a computer administrator.
NB The order is important here; Windows won’t let you do this until you’ve created a separate admin account, otherwise you’d lock yourself out!
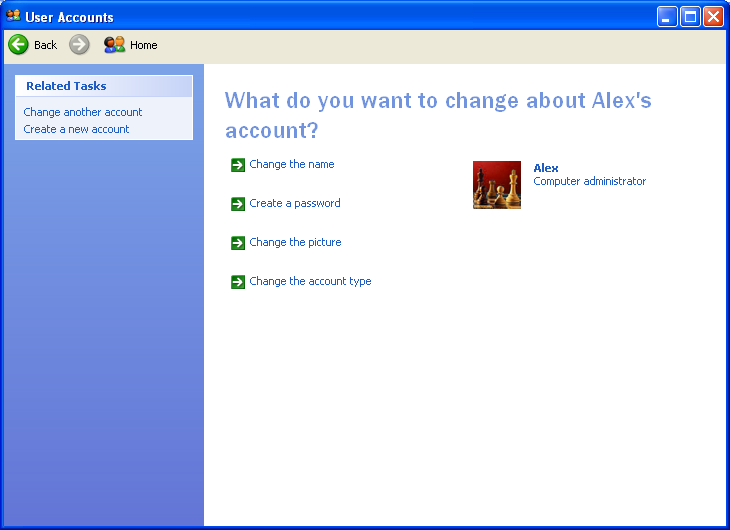
So, back at the User Accounts page, click on your original account, then click “Change the account type”:
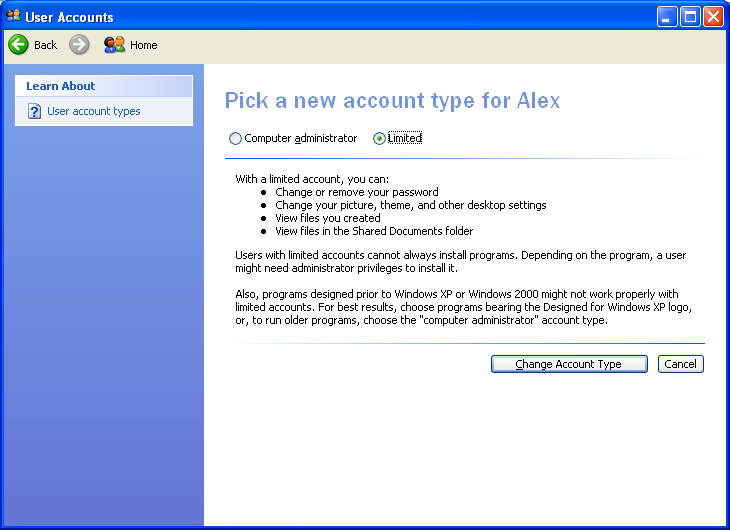
At the next screen, change the account type to “Limited”, then click “Change Account Type”:
Again, I recommend assigning a password to this account:

Go back to the main User Accounts page, and it should look like this:
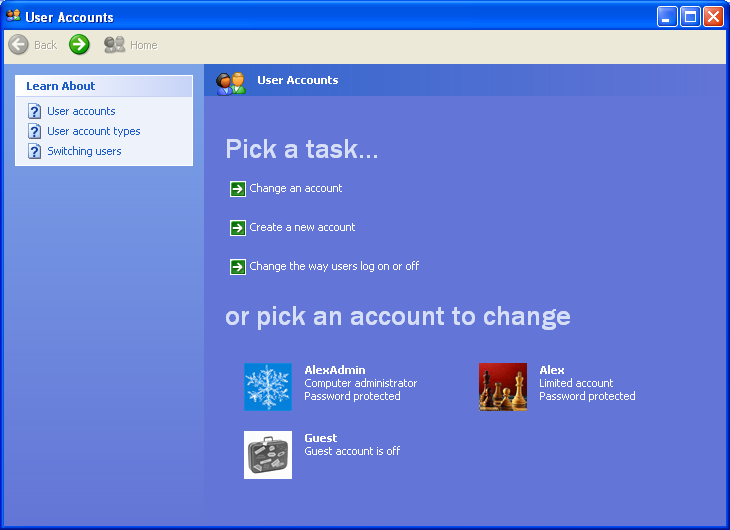
The account names will be different (unless you’re called Alex!), but one account should say “Computer administrator” and the other should say “Limited account”. Also, they should both say “Password protected”.
So, that’s it. It’s a bit of a long winded explanation, but it should only take a few minutes to actually follow these steps. Once you’ve done that, you can choose which account to use each time you log in.
You can use “Fast User Switching” to swap between these accounts, so you don’t necessarily need to log out of your limited account each time you want to do an admin job (e.g. installing new software). However, some upgrades will require a reboot, and you’ll need to make sure that you haven’t got files open in your other session; for instance, if you’re running Adobe Reader in your limited account, you will probably have trouble updating it with your admin account.
In part 3, I’ll explain how to deal with compatibility problems.